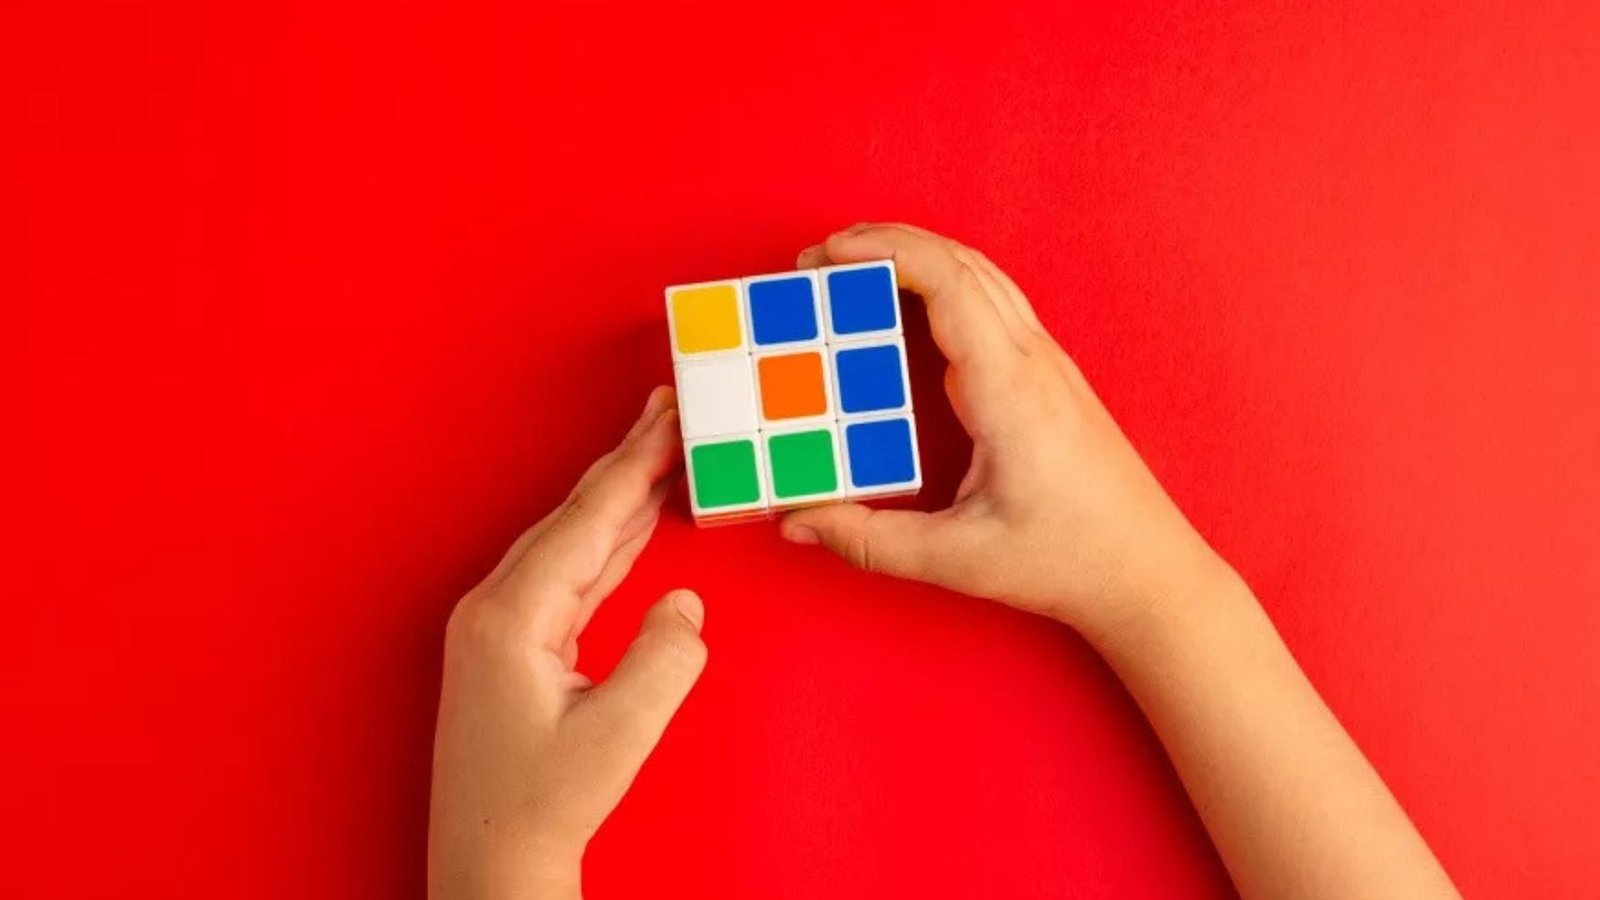
The Rubik’s Cube, a classic 3×3 puzzle, has fascinated people for decades. Solving it may seem like an impossible challenge at first, but with the right approach, anyone can master it. Whether you’re a beginner or someone who has struggled to solve the cube, this guide will provide you with step-by-step tips and tricks to solve the Rubik’s Cube efficiently and with ease. By breaking down the solving process into simple stages, you’ll be able to tackle this puzzle like a pro!

Understand the Basics of the Rubik’s Cube
Before diving into solving the Rubik’s Cube, it’s important to familiarize yourself with its structure and notation. The cube consists of:
- 6 faces: Each face of the Rubik’s Cube is a square with 9 smaller squares.
- 24 edges and corners: The cube’s center pieces do not move but the edges and corners do.
- Colors: The Rubik’s Cube has six colors, typically white, yellow, red, orange, blue, and green.
Notations
Each move is represented by a letter to signify which face to turn. Common notations include:
- U (Up): Turn the top layer clockwise.
- D (Down): Turn the bottom layer clockwise.
- L (Left): Turn the left layer clockwise.
- R (Right): Turn the right layer clockwise.
- F (Front): Turn the front layer clockwise.
- B (Back): Turn the back layer clockwise.
Understanding these notations is essential for following the solving algorithms.
Learn the Layer-by-Layer Method
The most popular method to solve the Rubik’s Cube is the Layer-by-Layer (LBL) method. This approach involves solving the cube one layer at a time, starting from the bottom layer and working upward.
Step 1: Solve the White Cross
Start with the white face. Your goal is to create a white cross, where the white edge pieces are aligned with their corresponding centerpieces (the middle squares on each face).
- Align the white edges with their corresponding colors. Make sure the edges match the centerpieces on the adjacent faces as well.
- Use basic moves to position the pieces correctly. Start by getting the white edge pieces to the top layer, and then align them with the centerpieces.
Step 2: Solve the White Corners
Once the white cross is complete, the next step is to solve the white corners.
- Position the white corner pieces on the top layer (above the white face). Use the right-hand algorithm:
- R’ D’ R D (repeat this until the corner is in place).
This will place the white corners in the correct positions, completing the first layer.
Step 3: Solve the Middle Layer Edges
The next stage involves solving the middle layer edges, so the second layer is complete.
- To move an edge piece from the top layer to the middle layer, use one of the following algorithms, depending on the direction:
- For a clockwise insertion: U R U’ R’ U’ F’ U F
- For a counterclockwise insertion: U’ L’ U L U F U’ F’
Repeat these moves until all of the middle layer edges are correctly aligned.
Step 4: Solve the Yellow Cross
Now, move on to solving the yellow face (the opposite of white). You need to form a yellow cross on the top layer, similar to what you did for the white cross.
- Position the yellow edges. Use the following algorithm to orient the yellow edges: F R U R’ U’ R U R’ U’ R U R’ U’ F’.
- You may need to repeat this algorithm multiple times to get the yellow cross.
Step 5: Solve the Yellow Corners
Now, focus on solving the yellow corners. Position them in their correct spots, even if the orientation is wrong.
- Use this algorithm to position the yellow corners: U R U’ L’ U R’ U’ L.
- This will cycle the yellow corners into the correct position on the top layer.
Step 6: Orient the Yellow Corners
Finally, orient the yellow corners correctly so the yellow stickers are facing up.
- Hold the cube with the correct yellow corner facing you and use the following algorithm: R’ D’ R D.
- Repeat this algorithm until the yellow corner is in place. You may need to rotate the top layer to position the next unsolved corner.
Step 7: Finish the Cube
Now, the final step is to position the last layer edges. If necessary, use the following algorithm to finish aligning the cube: F2 U L R’ F2 L’ R U’ F2.
By following these steps, you will have solved the Rubik’s Cube! With practice, you will be able to solve the cube faster and more efficiently.
Conclusion
Solving the Rubik’s Cube can initially seem daunting, but with practice and the right techniques, it becomes an enjoyable and rewarding puzzle. By breaking the solution into manageable steps, understanding the necessary algorithms, and honing your speedcubing skills, you’ll be able to solve the Rubik’s Cube in no time. Whether you’re solving it casually or aiming for speed, mastering this iconic puzzle is both a fun challenge and an impressive skill to show off. Happy cubing!


